Beginner's Guide: How to Choose Your First Bike and Riding Style
Buying your first "real" bike can feel overwhelming. There are hundreds of models, a dozen categories and a whole vocabulary of jargon. The good news: you only need to answer a handful of questions to narrow the choice to one or two sensible options. This guide walks you through them in order — riding style, terrain, bike type, size, budget and the first accessories to buy.
Step 1: Decide how you actually want to ride
The single most important question is not "which bike is best?" but "what will I do with it most weeks?" A bike that is perfect for one kind of riding can be frustrating for another. Be honest about your realistic plans — the riding you will do on an ordinary Tuesday, not just the dream trip.
Most people fall into one of these riding styles:
- Leisure and casual riding — relaxed rides in the park, along rivers or to a café at the weekend. Comfort matters more than speed.
- Commuting and errands — riding to work, school or the shops, often in normal clothes and in all weather. Reliability, practicality and security matter most.
- Fitness and road riding — longer rides for exercise, often on paved roads, sometimes in groups. Efficiency and speed become important.
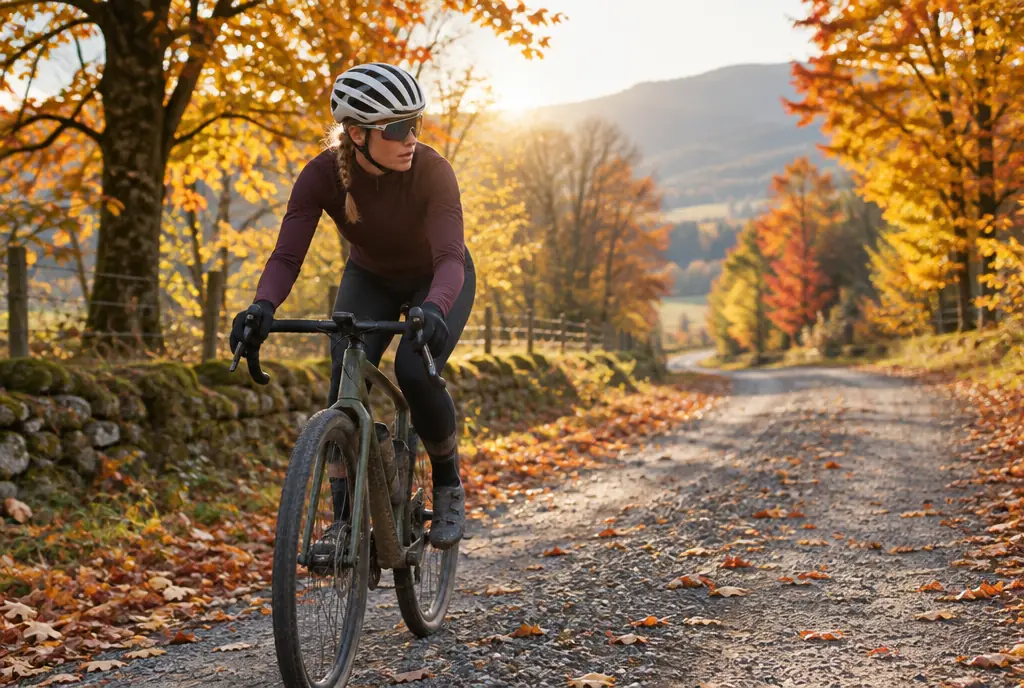
- Adventure and gravel — exploring back roads, forest tracks and mixed surfaces, maybe with overnight bags.
- Mountain biking — riding off-road trails with roots, rocks, climbs and descents. Control, suspension and grip are key.
- Family and utility — carrying children, shopping or heavy loads, or replacing car trips.
Step 2: Think about terrain and distance
Where you ride determines tires, gearing and whether you need suspension.
| Your terrain | What you need | Good bike types |
|---|---|---|
| Smooth roads and bike paths | Narrower, lower-rolling-resistance tires; efficient position | Road, hybrid, city, e-bike |
| Mixed pavement, gravel and park paths | Tires 35–50 mm wide with light tread; stable handling | Gravel, hybrid, touring |
| Hilly area | Wide gear range with low climbing gears, or motor assistance | Gravel, hybrid with wide-range gearing, e-bike |
| Singletrack trails, roots and rocks | Suspension, wide knobby tires, powerful disc brakes | Hardtail or full-suspension mountain bike |
| Snow and sand | Very wide, low-pressure tires | Fat bike |
Distance matters too. For rides under 30 minutes, almost any comfortable bike works well. For rides over an hour, efficiency, a well-fitting saddle and a position that spreads your weight between hands, seat and pedals make a big difference.
Step 3: Match your style to a bike type
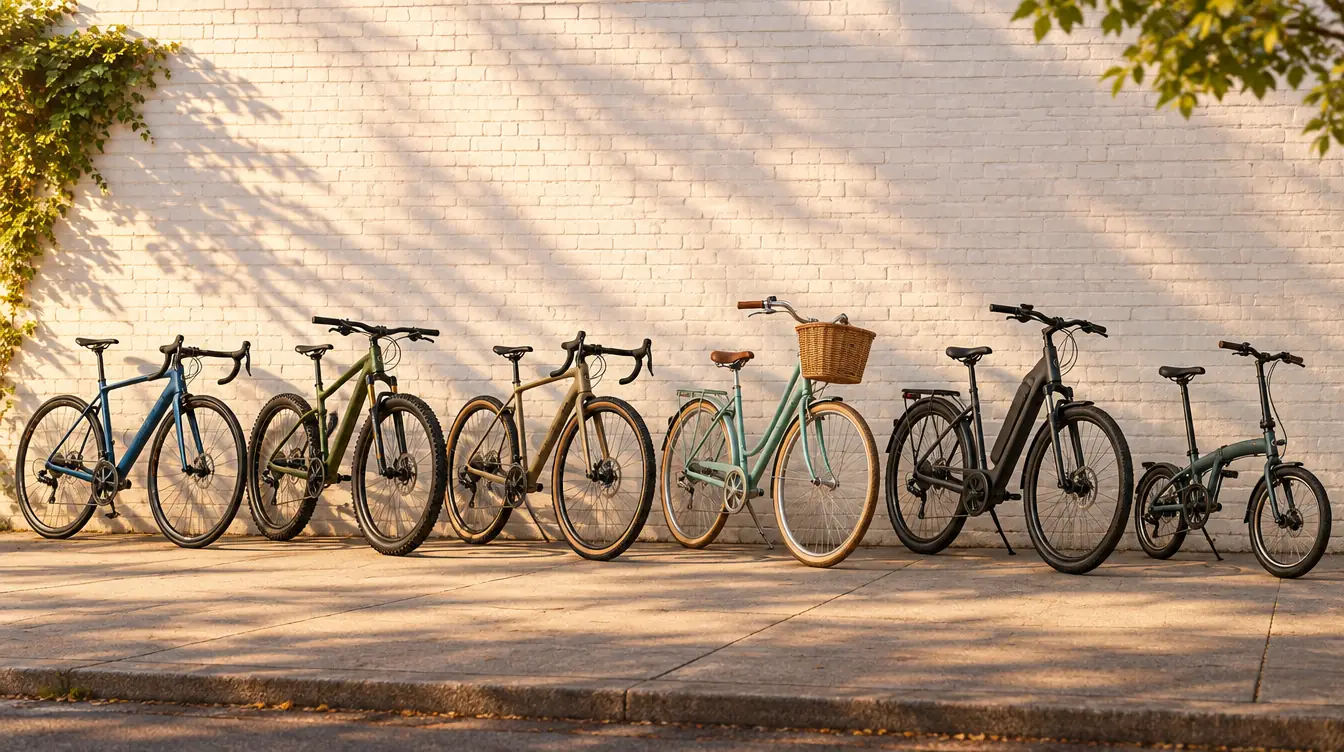
Once you know your riding style and terrain, the bike type almost chooses itself. Here is the short version — the full comparison, with pros and cons of each, is in our types of bikes guide.
- Hybrid bike — the best default for new riders: upright, comfortable, versatile, easy to fit racks and fenders.
- City / commuter bike — upright and practical, often with fenders, chain guard, rack and built-in lights.
- Road bike — light, fast and efficient on pavement; drop handlebars and a more stretched position.
- Gravel bike — a road bike's speed with wider tires and relaxed geometry; the most versatile drop-bar bike.
- Mountain bike — suspension and knobby tires for trails. Hardtails (front suspension only) are simpler and cheaper; full-suspension bikes are more capable and comfortable on rough ground.
- E-bike — any of the above with a motor that assists your pedaling. Ideal for hills, long commutes, or riding with fitter friends.
- Folding bike — best if you combine cycling with trains or buses, or have very little storage.
- Cargo bike — for carrying kids and heavy loads.
Step 4: Understand the key parts (without the jargon)
You do not need to become a bike mechanic to buy a bike, but knowing a few terms helps you compare models.
Frame material
- Aluminum — light, affordable and rust-resistant. The most common material on entry and mid-level bikes.
- Steel — heavier but durable, repairable and comfortable. Popular for touring and classic city bikes.
- Carbon fiber — very light and stiff, found on higher-end road, gravel and mountain bikes. More expensive and more sensitive to impact damage.
- Titanium — premium, light, comfortable and extremely durable, but costly.
Gears (drivetrain)
Gears let you keep a comfortable pedaling speed on hills and flats. What matters most for a beginner is the range — having an easy enough low gear for the steepest hill you will ride. "1x" (one chainring at the front) systems are simpler to use; "2x" systems offer smaller steps between gears. Internal hub gears, common on city bikes, are sealed and low-maintenance and let you change gear while stopped.
Brakes
Hydraulic disc brakes offer the strongest, most consistent braking in all weather and need little finger effort. Mechanical (cable) disc brakes are cheaper and still good. Rim brakes are light and simple but weaker in the wet. For most new riders, disc brakes are worth it.
Tires and wheels
Wider tires at lower pressure are more comfortable and grippy; narrower tires at higher pressure feel faster on smooth roads. Common adult wheel sizes are 700c (road, gravel, hybrid), 29" and 27.5" (mountain bikes), and 20" (BMX and many folding bikes).
Step 5: Get the size and fit right
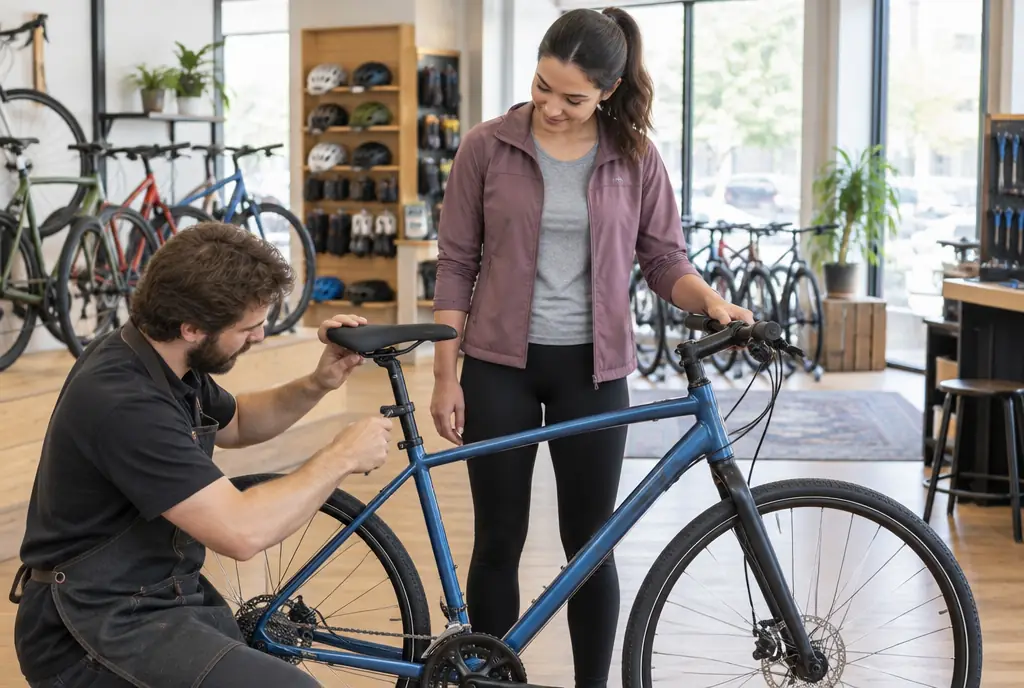
A bike that fits is more comfortable, more efficient and safer. A cheap bike that fits beats an expensive bike that does not.
- Use the manufacturer's size chart as a starting point. Charts are based on your height and sometimes your inseam (inside leg length). Sizes vary between brands, so never assume a "medium" is the same everywhere.
- Check standover: you should be able to straddle the top tube with both feet flat on the ground and a little clearance.
- Saddle height: when the pedal is at the bottom, your knee should be slightly bent (about 25–35 degrees), not locked straight. Your hips should not rock side to side as you pedal.
- Reach: you should reach the handlebars with slightly bent elbows and relaxed shoulders — not stretched out or cramped.
- Test ride: ride for at least 10–15 minutes if you can, including a small hill and some turns.
Step 6: Set a realistic budget
Bike prices vary enormously. As a rough guide for new bikes from established brands (prices vary by country and year):
| Bike type | Entry level (good quality) | Mid range | What extra money buys |
|---|---|---|---|
| Hybrid / city | $500–$800 | $800–$1,500 | Hydraulic brakes, lighter frame, hub gears, integrated lights |
| Road | $900–$1,400 | $1,500–$3,000 | Lighter frame, better shifting, carbon parts, lighter wheels |
| Gravel | $1,000–$1,500 | $1,500–$3,000 | Hydraulic brakes, wider gear range, more mounts, lighter build |
| Hardtail MTB | $600–$1,000 | $1,000–$2,000 | Air-sprung fork, dropper post, better brakes |
| Full-suspension MTB | $1,800–$2,800 | $2,800–$5,000 | Better suspension, lighter frame, more reliable parts |
| E-bike | $1,500–$2,500 | $2,500–$4,500 | Mid-drive motor, bigger battery, better range and brakes |
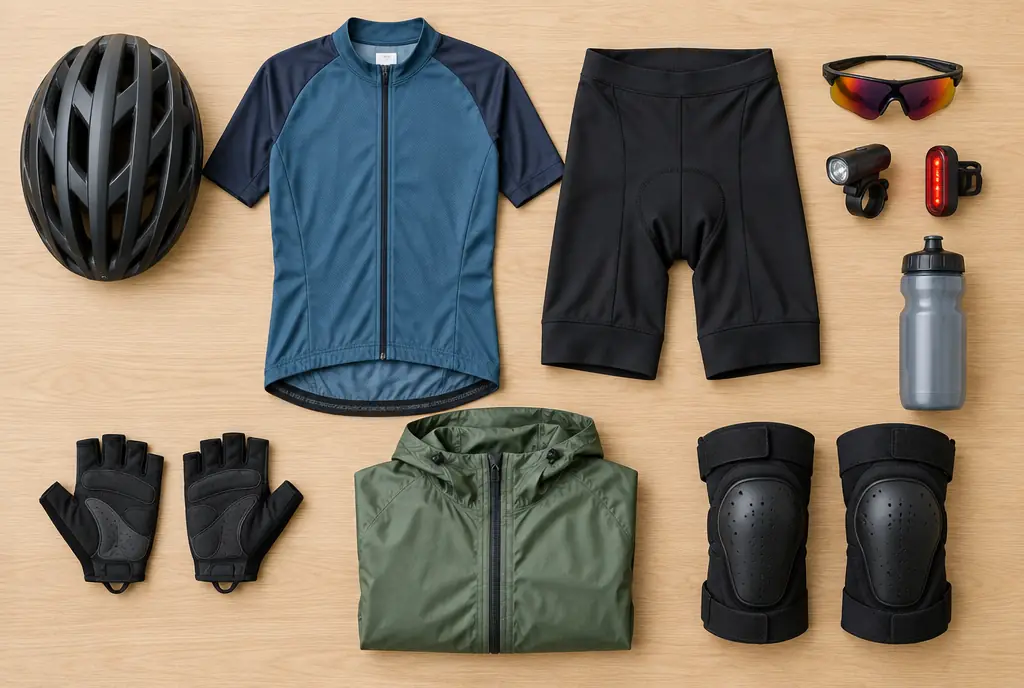
Remember to set aside around $150–$300 for essentials: a helmet, lights, a lock, a pump and a basic repair kit. See our clothing and gear guide for what to prioritize.
Step 7: New or used? Shop or online?
Buying from a local bike shop
You get expert advice, a proper fitting, a test ride, an assembled and adjusted bike, and usually a free first service after the cables and parts settle in. You may pay a little more, but for a first bike the support is very valuable.
Buying online (direct-to-consumer)
Often better value for the components, but you must choose the size yourself, finish the assembly and handle any adjustments. Good for riders who already know their size and have basic mechanical skills.
Buying used
Can be excellent value. Before you buy, check:
- The frame and fork for cracks, dents or bad rust (especially around welds and joints).
- That the wheels spin straight without wobbling or rubbing the brakes.
- That the brakes stop the bike firmly and the levers do not touch the handlebar.
- That all the gears shift smoothly and the chain is not rusty or stretched.
- For e-bikes: battery health, charger included, and proof of ownership.
- That the seller can show it is theirs — ask for a receipt or check the serial number against stolen-bike registers where available.
Step 8: Your first-ride essentials
Before your first ride, make sure you have:
- A helmet that fits snugly and meets your country's safety standard.
- Front and rear lights — many places legally require them after dark, and daytime lights make you more visible.
- A good lock if you will leave the bike anywhere.
- A pump, spare tube and tire levers — learn to fix a flat using our maintenance guide.
- A water bottle and cage for anything longer than half an hour.
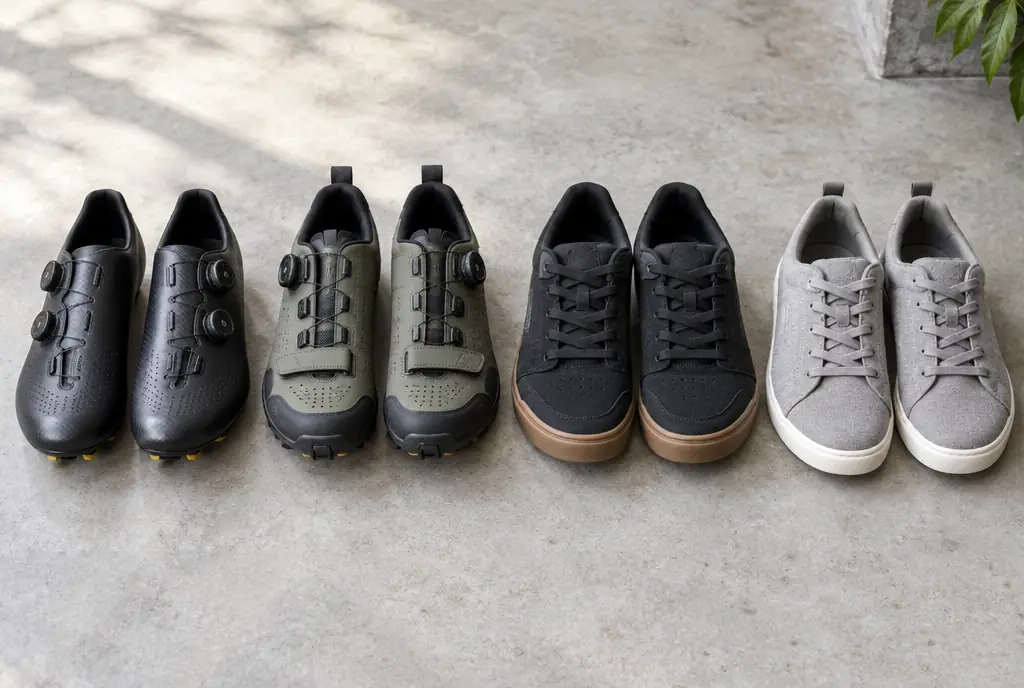
- Comfortable shoes — flat pedals with ordinary sneakers are perfect to start. Our shoe guide explains when to consider cycling-specific shoes.
Step 9: Build confidence on the bike
- Start short. Ride 20–40 minutes a few times a week and build up gradually.
- Practice in a quiet place: starting, stopping, looking over your shoulder, signaling with one hand and shifting gears before hills.
- Plan your route using bike lanes, quiet streets and paths. Many mapping apps offer a cycling mode.
- Learn the rules of the road where you live. Ride predictably, in a straight line, and make eye contact with drivers at junctions.
- Ride with others. Local clubs and shops often run beginner-friendly "no-drop" rides where nobody gets left behind.
Common beginner mistakes to avoid
- Buying the wrong type of bike for the riding you actually do — for example, a heavy full-suspension mountain bike for a road commute.
- Getting the wrong size because the bike was on sale.
- Saddle too low. It feels safer, but it hurts your knees and wastes energy.
- Riding with soft tires. Check pressure weekly; the recommended range is printed on the tire sidewall.
- Spending the whole budget on the bike and nothing on a helmet, lights and a lock.
- Doing too much too soon. Build distance gradually and your body will adapt.
Frequently asked questions
Is a hybrid or a road bike better for a beginner?
A hybrid is better for most beginners because it is more comfortable, more stable and handles rougher surfaces. Choose a road bike if your main goal is fitness on paved roads and you are happy with a more stretched, sporty position.
What size bike do I need for my height?
Use the specific brand's size chart, because sizes differ between manufacturers. As a very rough guide, riders around 160–170 cm (5'3"–5'7") often ride a small, 170–180 cm (5'7"–5'11") a medium and 180–190 cm (5'11"–6'3") a large. Always confirm with standover and a test ride.
Should my first bike be an e-bike?
If you live somewhere hilly, have a long commute, or want to ride with people who are much fitter, an e-bike is a great first bike. You still pedal and get exercise, but the assistance removes the barriers that stop many people riding. They are heavier and cost more, so check where you will store and charge it.
How long does it take to get comfortable on a bike?
Most adults feel noticeably more comfortable after two to four weeks of regular riding. Saddle soreness usually fades within the first couple of weeks; if it does not, check your saddle height and angle or try padded shorts.