Bike Maintenance and Repair Basics: What You Can Do at Home
Basic bike maintenance is easier than most people think. With a few inexpensive tools and 15 minutes a week, you can keep your bike running quietly, shifting smoothly and stopping safely — and fix the most common roadside problem, a flat tire, in minutes. This guide covers the essential toolkit, step-by-step instructions for the key jobs, and when to leave it to a professional.
The essential home toolkit
You do not need a full workshop. Start with these and add tools as your skills grow:
| Tool | What it is for |
|---|---|
| Floor pump with gauge | Accurate tire inflation at home |
| Tire levers (2–3) | Removing tires to fix flats |
| Hex (Allen) keys 2–8 mm and Torx T25 | Most bolts on modern bikes |
| Chain lubricant and degreaser | Drivetrain cleaning and lubrication |
| Rags and brushes | Cleaning |
| Chain wear checker | Knowing when to replace your chain |
| Torque wrench (small, 2–15 Nm) | Tightening bolts correctly — essential for carbon parts |
| Spare tubes and patch kit | Fixing punctures |
| Chain tool and quick links | Repairing or replacing chains |
| Repair stand (optional) | Holds the bike at a comfortable height |
The M-check: a 5-minute safety inspection
Mechanics use the "M-check" to inspect a bike in a logical order, following the shape of an M from the front wheel to the rear.
- Front wheel: tire pressure and condition, wheel secure, spins straight, no loose spokes.
- Headset and handlebars: hold the front brake and rock the bike — there should be no knocking. Bars and stem tight and aligned.
- Frame and fork: look for cracks, dents or unusual marks.
- Saddle and seatpost: secure, at the right height, not twisting.
- Bottom bracket and cranks: wiggle the cranks sideways — there should be no play.
- Drivetrain: chain clean and lubed, gears shift cleanly.
- Rear wheel and brakes: as for the front; both brakes firm and effective.
How to fix a flat tire
Flats are the most common problem you will face. Practice at home once, and you will be ready on the road.
- Remove the wheel. Shift to the smallest rear cog first (for the rear wheel). Open the brake if you have rim brakes, then open the quick-release lever or unscrew the thru-axle.
- Let out any remaining air and push the valve up into the tire.
- Lever off one side of the tire: hook a tire lever under the bead opposite the valve, pry it over the rim and clip the lever to a spoke. Use a second lever a few inches away and slide it around the rim.
- Remove the tube and find the cause: run your fingers carefully around the inside of the tire to find thorns, glass or wire, and remove it. Otherwise your new tube will puncture again.
- Fit the new tube: inflate it just enough to hold its shape, insert the valve through the rim, then tuck the tube inside the tire.
- Refit the tire bead with your thumbs, working from the valve around both sides. The last section is tight — push the bead into the center channel of the rim to gain slack. Avoid using levers here if possible, to prevent pinching the tube.
- Check that the tube is not trapped between tire and rim, then inflate to the pressure on the tire sidewall.
- Refit the wheel, close the brake and check the wheel spins freely and is secure.
Cleaning and lubricating your chain
A clean, lubricated chain shifts better, runs quieter, lasts much longer and protects your expensive cassette and chainrings.
- Wipe the chain with a rag while backpedaling to remove surface grime.
- For a deeper clean, apply a bike-specific degreaser with a brush or chain-cleaning device, scrub, then rinse gently with water.
- Dry the chain completely.
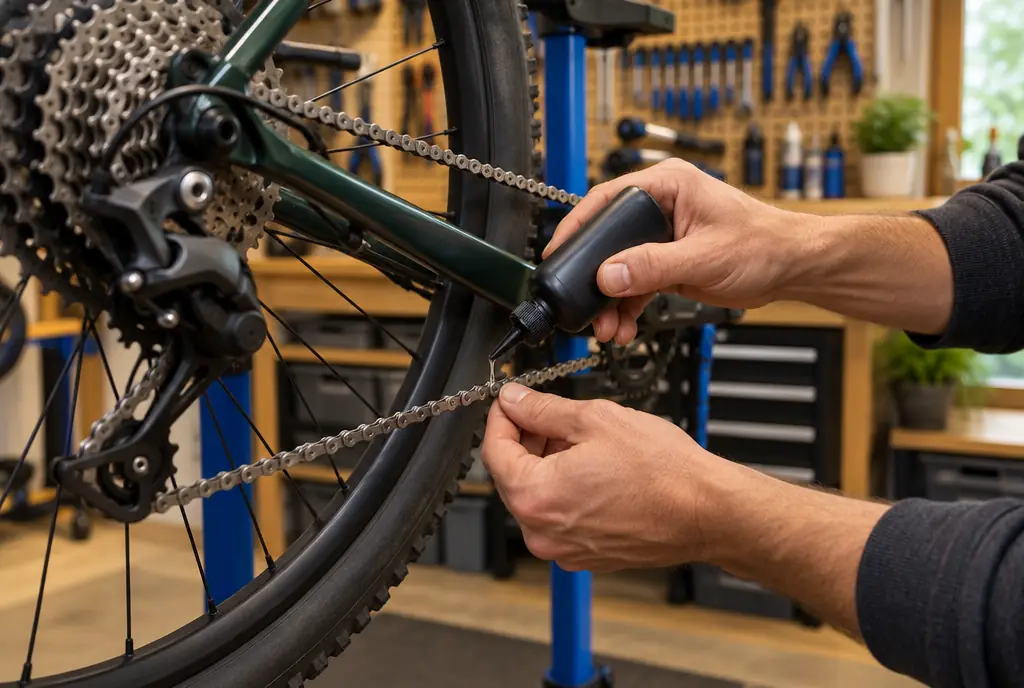
- Apply one drop of lube to each roller on the inside of the chain while backpedaling slowly.
- Let it soak in for a few minutes, then wipe off the excess — lube belongs inside the rollers, not on the outside where it attracts dirt.
Dry lube suits dry, dusty conditions. Wet lube lasts longer in rain but attracts more dirt. Wax-based lubes keep the drivetrain very clean but need more frequent application.
When to replace your chain
Chains "stretch" as their pins and rollers wear. Use a chain checker: most manufacturers recommend replacing the chain at around 0.5% wear for 11- and 12-speed drivetrains and 0.75% for older systems. Replacing the chain on time can make your cassette last two to three chains.
Checking and adjusting brakes
Disc brakes
- Check pads: replace when the pad material is about 1 mm thick (check your manufacturer's guidance).
- Rubbing rotor? Loosen the two caliper bolts, squeeze and hold the brake lever to center the caliper, then retighten the bolts.
- Keep rotors clean: never touch them with oily fingers or spray lubricant nearby. Contaminated pads squeal and lose power; clean rotors with isopropyl alcohol.
- Spongy hydraulic brakes need bleeding — a job for a shop if you are unsure.
Rim brakes
- Check that pads hit the braking surface squarely and not the tire.
- Replace pads when the grooves are worn away.
- If the lever pulls too close to the bar, turn the barrel adjuster at the lever or caliper counter-clockwise to tighten the cable.
Adjusting gears (indexing)
If your chain hesitates, rattles or skips when you shift, the rear derailleur probably needs a small cable tension adjustment.
- Shift to the smallest rear cog, then click up one gear while turning the pedals.
- If the chain struggles to climb to the bigger cog, turn the barrel adjuster (on the derailleur or shifter) a quarter-turn counter-clockwise.
- If it is slow to drop to smaller cogs, turn it clockwise.
- Repeat in quarter-turn steps and test across all gears.
Tire pressure guide
Correct pressure improves comfort, grip, speed and puncture resistance. Always stay within the range printed on the tire and rim. Lighter riders and wider tires need less pressure.
| Bike / tire | Typical range |
|---|---|
| Road, 25–28 mm | 60–90 psi (4–6 bar) |
| Road, 30–32 mm | 50–70 psi (3.5–5 bar) |
| Gravel, 38–45 mm | 25–45 psi (1.7–3 bar) |
| Hybrid / city, 35–47 mm | 40–70 psi (2.8–4.8 bar) |
| Mountain bike, 2.3–2.5" | 18–30 psi (1.2–2 bar) |
| Fat bike, 4–5" | 5–15 psi (0.3–1 bar) |
How to wash your bike properly
- Rinse with low-pressure water — avoid pressure washers, which force water into bearings.
- Apply bike wash or mild soapy water with a soft brush or sponge, starting from the top.
- Degrease the drivetrain with a separate brush.
- Rinse, dry with a clean cloth and bounce the bike to shed water.
- Lubricate the chain, and wipe a little protectant on bare metal parts if you ride in wet or salty conditions.
For timing through the year, see our seasonal bike prep guide.
When to see a professional mechanic
- Bleeding hydraulic brakes or replacing hydraulic hoses
- Suspension fork and shock servicing
- Wheel truing, spoke replacement and wheel building
- Bottom bracket and headset bearing replacement
- Frame damage, especially on carbon frames
- E-bike motor, battery and electrical issues
- Anything safety-critical you are not 100% confident about
Frequently asked questions
How often should I lube my bike chain?
Roughly every 150–300 km in dry conditions, and after every ride in the rain. If the chain looks dry, sounds squeaky or has been washed, it needs lube.
Can I use WD-40 on my bike chain?
Standard WD-40 is a water displacer and light cleaner, not a long-lasting chain lubricant. It can help clean, but always follow it with a proper bike chain lube.
How much does a bike service cost?
A basic service often costs around $60–$100 and a full service $120–$250 or more, depending on the shop, country and parts required.
Why does my bike make a clicking noise?
Common causes include a dry or dirty chain, gears slightly out of adjustment, loose pedals or cranks, a creaking saddle or seatpost, and loose thru-axles or quick-releases. Clean and lube first, then check bolts and gear adjustment.